Walls without 'anti-warp ledges' will flop - it is the nature of cardstock.
So, needing a cheap and easy method, so as to assist those wobblers (and use the printouts up), I went for a burger (clicky for biggy) ...

Courtesy of a leading, fast-food, outlet, I selected a pack of coffee stirrers, went home, clipped them down to ca. 133 mm, in length, and sandwiched a stirrer between a wall's, inside, surfaces. It took these stages ...
(1) Glue stirrer to a wall (inside, top),
(2) Glue wall faces together,
(3) Burnish all surfaces,
(4) Clamp wall faces, onto stirrer, with a 'beam' across the length of the wall,
(5) Snip, at the line, through the tab ...

(6) Superglue the top 'square' down ... all other surfaces were glued with my normal glues (Pritt Stick/equivalent or Matt Mod Podge).
There you have it (this prototype was edged with black). You could sand it down (before or after), if you really wanted to, but that is up to you) ...


No 'bulge' to speak of, at all ...


No more flaccid walls :) - Enjoy !!!
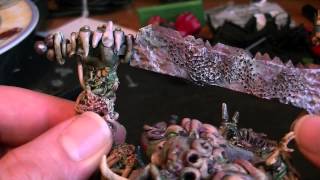
Oh, and a little teaser, of a few of the projects, that I am working on ...

Keep on cutting !!!


